Embracing a homesteading lifestyle means reconnecting with traditional skills, and few things are as rewarding as baking your own sourdough bread. This modern homesteading sourdough guide is designed to help beginners and seasoned bakers alike master the art of sourdough, using simple tools and natural ingredients. Whether you’re looking to create wholesome loaves for your family or add another self-sufficient skill to your repertoire, you’ll find practical advice and step-by-step instructions here.
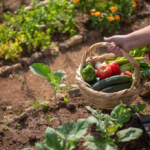
Homesteaders often seek out ways to make their kitchens more sustainable and their meals more nourishing. Sourdough bread, with its natural fermentation and minimal ingredients, fits perfectly into this philosophy. If you’re also interested in growing your own produce, you might enjoy learning how to grow onions from bulbs for fresh, homemade accompaniments to your bread.
Why Sourdough Is a Staple for Homesteaders
Sourdough bread has been a cornerstone of home baking for centuries. Its appeal lies in its simplicity: just flour, water, and salt, transformed by wild yeast and bacteria into a flavorful, nutritious loaf. For those practicing modern self-sufficiency, sourdough offers several benefits:
- Minimal ingredients – No need for commercial yeast or additives.
- Digestibility – The fermentation process breaks down gluten and phytic acid, making bread easier to digest.
- Flavor and texture – Sourdough’s tangy taste and chewy crumb are hard to replicate with store-bought bread.
- Preservation – Naturally leavened bread stays fresh longer due to its acidity.
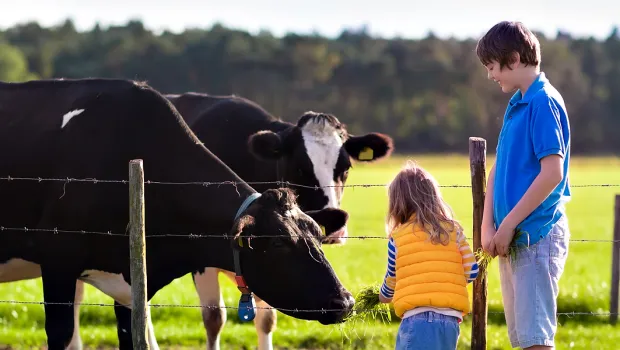
Learning to bake sourdough is a valuable addition to any homesteader’s kitchen skills, alongside growing vegetables or raising livestock.
Getting Started: Sourdough Starter Basics
The foundation of every sourdough loaf is the starter—a mixture of flour and water teeming with wild yeast and beneficial bacteria. Creating and maintaining a healthy starter is the first step in this modern homesteading sourdough guide.
- Combine equal parts flour and water in a clean jar. Whole wheat or rye flour often works best for starting out.
- Cover loosely and let sit at room temperature. Stir once or twice daily.
- Feed daily by discarding half and adding fresh flour and water. After 5–7 days, your starter should be bubbly and have a pleasant, tangy aroma.
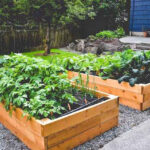
Once your starter is active, you’re ready to bake. If you’re new to growing your own food, consider exploring how to grow vegetables in small spaces to further enhance your homestead kitchen.

Essential Tools for Sourdough Success
You don’t need a fancy kitchen to bake great sourdough. Most homesteaders already have the basics on hand. Here are the essentials:
- Mixing bowl – For combining ingredients and bulk fermentation.
- Bench scraper – Useful for shaping dough and cleaning surfaces.
- Proofing basket or bowl – Helps the dough hold its shape during the final rise.
- Dutch oven or baking stone – Creates steam and even heat for a crisp crust.
- Sharp knife or lame – For scoring the dough before baking.
Optional tools like digital scales and thermometers can improve consistency, but aren’t strictly necessary for delicious results.
Step-by-Step Sourdough Bread Process
Once your starter is active, you’re ready to bake your first loaf. This section of the modern homesteading sourdough guide breaks down the process into manageable steps:
- Mix the Dough: Combine starter, flour, water, and salt. Mix until a shaggy dough forms.
- Bulk Fermentation: Let the dough rest and rise at room temperature for 4–6 hours, performing a few stretch-and-folds every 30–60 minutes to develop gluten.
- Shape the Dough: Turn the dough onto a floured surface, shape into a round or oval, and place in a proofing basket.
- Final Proof: Let the dough rise for 1–2 hours at room temperature or overnight in the fridge for enhanced flavor.
- Score and Bake: Preheat your oven and baking vessel. Score the dough and bake at high heat (450°F/230°C) for 20 minutes with the lid on, then 20–25 minutes uncovered.
- Cool and Enjoy: Let the bread cool completely before slicing to preserve its texture.
Experiment with different flours, hydration levels, and fermentation times to find what works best for your environment and taste preferences.
Troubleshooting Common Sourdough Issues
Even experienced bakers encounter challenges. Here are solutions to some frequent problems:
- Dense or gummy bread: Under-proofing or too much moisture can cause this. Allow for a longer rise or reduce water slightly.
- Flat loaves: Over-proofing or weak gluten structure may be the culprit. Try shorter proofing times or more stretch-and-folds.
- Sour flavor too strong or weak: Adjust fermentation time and temperature. Warmer, longer ferments produce more tang.
- Crust too hard: Bake with steam and let bread cool fully before slicing.
Patience and practice are key. Each bake will teach you more about your starter and dough behavior.
Integrating Sourdough into Your Homestead Routine
Making sourdough a regular part of your homestead kitchen is easier with a little planning. Feed your starter at the same time each day, and schedule baking days around your other homesteading chores. Sourdough discard can be used in pancakes, crackers, or even composted for zero waste.
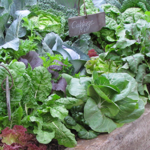
If you’re expanding your self-sufficiency skills, you might also want to explore the best vegetables to grow at home for fresh, healthy meals to pair with your bread.
For those just starting out with homesteading, resources like this comprehensive guide to starting a homestead can offer additional insights and inspiration.
Creative Ways to Use Sourdough on the Homestead
Sourdough isn’t just for bread. Here are a few ideas to make the most of your starter and loaves:
- Pancakes and waffles: Use discard for fluffy, tangy breakfast treats.
- Crackers: Mix discard with herbs and bake for a crunchy snack.
- Pizza crust: Sourdough makes a flavorful, chewy base for homemade pizzas.
- Stuffing and breadcrumbs: Use day-old bread for savory dishes and toppings.
Experimenting with different recipes helps reduce waste and keeps your meals interesting.
FAQ: Sourdough and Homesteading
How do I know when my sourdough starter is ready to use?
Your starter is ready when it doubles in size within 4–6 hours of feeding, is bubbly, and has a pleasant, slightly tangy aroma. A simple test is to drop a spoonful in water—if it floats, it’s active enough for baking.
Can I bake sourdough bread without a Dutch oven?
Yes, you can bake on a preheated baking stone or sheet pan. Place a tray of water in the oven to create steam, which helps develop a crisp crust. A Dutch oven, however, makes it easier to achieve consistent results.
How can I store homemade sourdough bread to keep it fresh?
Let the bread cool completely, then store it in a paper bag or wrapped in a clean towel at room temperature for up to three days. For longer storage, slice and freeze the bread, reheating slices as needed.
Final Thoughts on Sourdough for Modern Homesteaders
Mastering sourdough baking is a rewarding journey that fits naturally into a self-sufficient lifestyle. With a bit of practice and patience, you’ll enjoy fresh, flavorful bread and a deeper connection to traditional foodways. As you continue to develop your homesteading skills, consider exploring topics like easy vegetables for beginners to grow or learning when to plant vegetables in spring to further enhance your homegrown meals. Happy baking and homesteading!