Understanding your soil is the foundation of successful homesteading. Whether you’re growing vegetables, raising fruit trees, or starting a small-scale farm, knowing what’s beneath your feet is essential for healthy crops and sustainable land management. This modern homesteading soil testing guide offers practical steps for evaluating and improving your soil, helping you make informed decisions for your garden or homestead.
Soil testing isn’t just for large-scale farmers. Even on a small plot, the right approach can boost yields, reduce costs, and minimize environmental impact. By learning how to assess your soil’s health, you’ll be better equipped to choose the right amendments, crops, and management strategies for your land. If you’re also interested in optimizing your garden beds, you might find our resource on how to prepare soil for planting vegetables helpful as a companion to this guide.
Why Soil Testing Matters for Homesteaders
For anyone practicing self-sufficiency, the health of your soil directly influences the quality and quantity of your harvest. Testing provides a snapshot of your soil’s nutrient levels, pH, organic matter, and potential contaminants. This knowledge empowers you to:
- Optimize plant growth by matching crops to your soil’s strengths and weaknesses.
- Save money by applying only the amendments your soil actually needs.
- Prevent environmental harm from over-fertilization or runoff.
- Build long-term soil health through informed management.
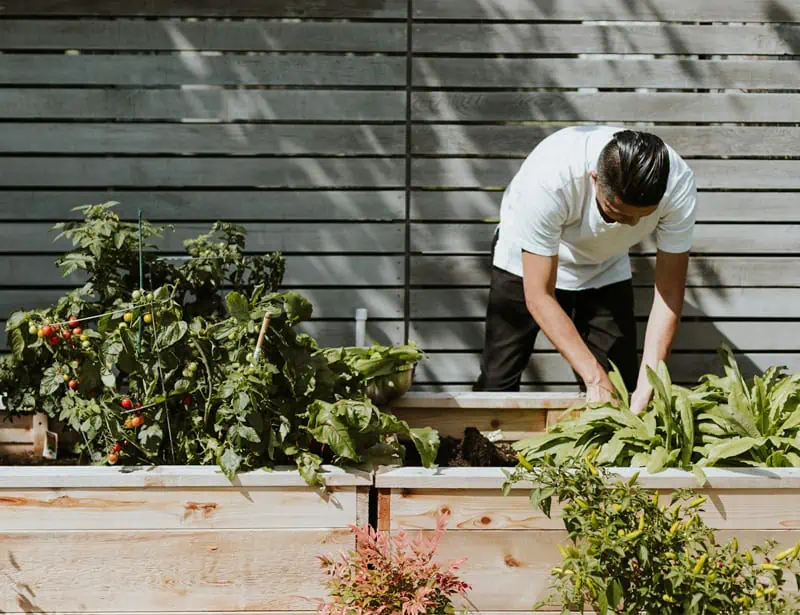
Homesteaders often work with diverse plots—raised beds, open fields, or even containers. Each area can have different needs, making regular soil analysis a smart habit for anyone serious about sustainable growing.
Types of Soil Tests for Modern Homesteads
There are several ways to assess your soil, ranging from simple DIY kits to comprehensive laboratory analyses. Here’s a breakdown of the most common options:
Basic At-Home Testing
Home test kits are widely available and affordable. They usually measure pH and a few key nutrients like nitrogen, phosphorus, and potassium (N-P-K). While not as precise as lab tests, they offer quick feedback and are useful for routine checks.
- Collect samples from several spots in your garden for a representative result.
- Follow the kit instructions carefully for best accuracy.
Laboratory Soil Analysis
For a more detailed picture, sending samples to a professional lab is recommended. Lab tests can identify micronutrient levels, organic matter content, cation exchange capacity, and potential contaminants such as heavy metals. Many state extension services and private labs offer these services for a modest fee.
- Lab reports often include recommendations tailored to your intended crops.
- Annual or biennial lab testing is a good practice for serious growers.
Physical and Biological Assessment
Beyond chemistry, healthy soil also depends on structure and biology. Simple field tests—like the “squeeze test” for texture or counting earthworms—can reveal a lot about your soil’s condition. Observing drainage, compaction, and organic matter can help you spot issues early.
How to Collect Soil Samples Properly
Accurate results depend on proper sampling. Here’s how to do it:
- Use a clean trowel or soil probe to collect samples from 6–8 locations in your plot.
- Dig to the root zone—usually 6 inches deep for gardens, 3–4 inches for lawns.
- Mix the samples in a clean bucket to create a composite sample.
- Remove debris like roots, rocks, or mulch.
- Allow the sample to air dry before packaging for lab analysis or home testing.
Label your samples clearly, especially if you’re testing multiple beds or fields. Consistency in sampling depth and timing (ideally in early spring or fall) ensures more reliable comparisons year to year.
Interpreting Your Soil Test Results
Once you receive your results, the next step is understanding what they mean for your homestead. Key factors to review include:
- pH: Most vegetables thrive in slightly acidic to neutral soil (pH 6.0–7.0). Adjust with lime (to raise pH) or sulfur (to lower pH) as needed.
- Macronutrients (N-P-K): Deficiencies or excesses can impact plant health. Use organic or synthetic fertilizers based on recommendations.
- Micronutrients: Elements like calcium, magnesium, and iron are vital in small amounts. Imbalances may require targeted amendments.
- Organic Matter: Higher levels support better structure, water retention, and microbial life.
- Contaminants: If present, take steps to remediate or avoid growing food crops in affected areas.
Many labs provide easy-to-read charts and specific advice. If you’re unsure, consult with your local extension service or a trusted gardening resource.

Improving Soil Health on the Homestead
After testing, you may need to amend your soil to address deficiencies or imbalances. Here are some practical strategies:
- Compost: Adding well-rotted compost boosts organic matter and supplies a broad range of nutrients.
- Cover Crops: Planting legumes or grasses in the off-season can fix nitrogen, reduce erosion, and improve structure.
- Mulching: Organic mulches conserve moisture, suppress weeds, and gradually enrich the soil as they break down.
- Crop Rotation: Rotating crops prevents nutrient depletion and disrupts pest cycles.
- Targeted Amendments: Use lime, gypsum, rock phosphate, or other minerals as recommended by your test results.
For those with limited space, urban gardeners can still benefit from these practices. If you’re working in a city or on a small lot, check out our advice on how to grow vegetables in small spaces for more tailored tips.
Integrating Soil Testing Into Your Homesteading Routine
Regular soil assessment is a cornerstone of resilient, productive land management. Here’s how to make it part of your annual cycle:
- Test your soil every 1–2 years, or after major changes like adding new beds or importing topsoil.
- Keep records of your results and amendments to track progress over time.
- Adjust your planting and fertilizing plans based on up-to-date data.
By treating soil care as an ongoing process, you’ll build a healthier, more productive homestead year after year. For more inspiration and practical advice, explore resources like this comprehensive overview of modern homesteading practices.
Frequently Asked Questions
How often should I test my soil on a homestead?
It’s best to test your soil at least every two years, or annually if you’re making significant changes to your land or crop rotation. Regular testing helps you monitor improvements and catch emerging issues early.
Can I use the same soil test for all areas of my property?
Different areas may have unique characteristics, especially if you have raised beds, open fields, or containers. Collect separate samples from each distinct area to get accurate recommendations for each space.
What if my soil test shows contamination?
If your results indicate the presence of heavy metals or other contaminants, avoid growing edible crops in those areas. Consider remediation options like adding clean topsoil, growing only ornamental plants, or consulting with local experts for site-specific advice.
Conclusion
Soil testing is a practical, science-based tool that empowers homesteaders to grow healthier crops and steward their land wisely. By following the steps outlined in this guide, you’ll gain valuable insights into your soil’s needs and unlock the full potential of your homestead. For those just starting out, you might also be interested in our guides on the best vegetables to grow at home and easy vegetables for beginners to grow as you put your soil knowledge into practice.