Learning how to compost with worms is an effective way to recycle kitchen scraps and boost your garden’s health, even if you have limited room. Small-space vermiculture allows you to turn food waste into nutrient-rich castings using minimal square footage. Whether you live in an apartment, have a small backyard, or simply want to reduce your environmental impact, this guide will walk you through the essentials of starting a compact worm composting system.
Embracing sustainable practices is a core part of modern homesteading. If you’re interested in expanding your skills, you might also find the modern homesteading herbal garden ideas helpful for making the most of your available space.
Why Choose Compact Worm Composting?
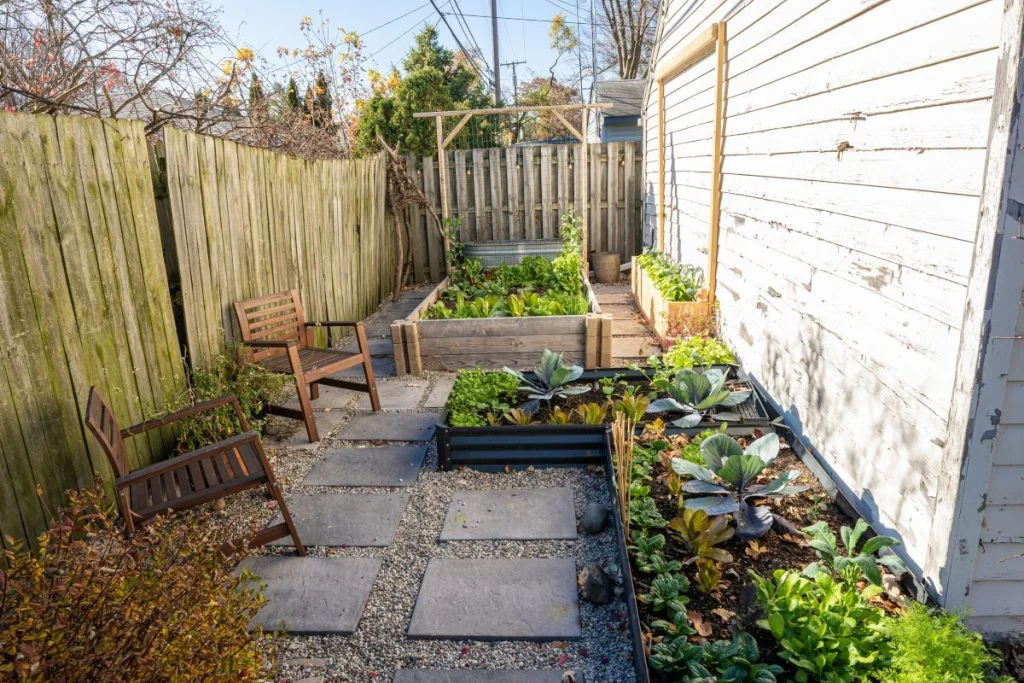
For those with limited outdoor areas or no garden at all, traditional composting piles may not be practical. Small-space vermiculture offers a solution that fits on balconies, patios, or even under the kitchen sink. This method uses red wiggler worms (Eisenia fetida) to break down organic matter efficiently, producing castings that enrich soil and support healthy plant growth.
Some key advantages of this approach include:
- Minimal odor and mess when managed correctly
- Year-round composting indoors or outdoors
- Quick breakdown of food scraps
- High-quality fertilizer for container gardens and houseplants
Setting Up Your Worm Composting Bin
Starting a worm bin doesn’t require much space or expensive equipment. Here’s what you’ll need to get started:
- Container: Choose a plastic storage tote, wooden box, or a purpose-built worm bin. Ensure it’s opaque and has a tight-fitting lid.
- Drill or sharp tool: For making ventilation and drainage holes.
- Bedding: Shredded newspaper, cardboard, or coconut coir works well.
- Red wiggler worms: These are the best species for vermiculture in confined spaces.
- Food scraps: Vegetable peels, fruit waste, coffee grounds, and eggshells are ideal.
To assemble your bin:
- Drill small holes in the sides and lid for airflow. Add a few in the bottom for drainage.
- Fill the bin one-third full with moist bedding. It should feel like a wrung-out sponge.
- Add your worms and a small amount of food scraps.
- Cover the food with more bedding to deter pests and odors.
- Place the bin in a cool, shaded spot out of direct sunlight.
Choosing the Right Location for Your Worm Bin
Finding the ideal spot is crucial for success with compact vermiculture systems. The bin should be kept between 55°F and 77°F (13°C–25°C) to keep worms comfortable. Many people tuck their bins under the kitchen sink, in a pantry, on a balcony, or in a shaded corner of the garage.
Avoid placing the bin in direct sunlight or anywhere it could freeze. If you’re using your castings for container gardens, consider pairing your worm bin with a resource on homesteading practices to maximize your harvests and sustainability.
What to Feed Your Worms (and What to Avoid)
Worms thrive on a variety of kitchen scraps, but some items should be avoided to prevent odors and pests. Here’s a quick guide:
| Good for Worms | Do Not Add |
|---|---|
| Fruit and vegetable peels | Meat, dairy, oily foods |
| Coffee grounds and filters | Citrus, onions, spicy foods |
| Eggshells (crushed) | Plastic, glass, metal |
| Tea bags (no staples) | Pet waste |
| Shredded paper/cardboard | Large amounts of bread or pasta |
Feed your worms small amounts at first, gradually increasing as the population grows. Always bury food under bedding to minimize flies and smells.
Maintaining Your Small-Space Worm Bin
Keeping your vermiculture system healthy is straightforward with a few simple habits:
- Check moisture regularly; bedding should stay damp but not soggy.
- Fluff bedding every couple of weeks to maintain airflow.
- Harvest castings every 2–4 months by moving finished compost to one side and adding fresh bedding and food to the other.
- Watch for signs of trouble such as foul odors, escaping worms, or fruit flies, and adjust feeding or bedding as needed.
If you’re interested in learning about other aspects of self-sufficient living, the modern homesteading beginner mistakes article offers practical advice for those new to sustainable lifestyles.
Using Worm Castings in Small Gardens
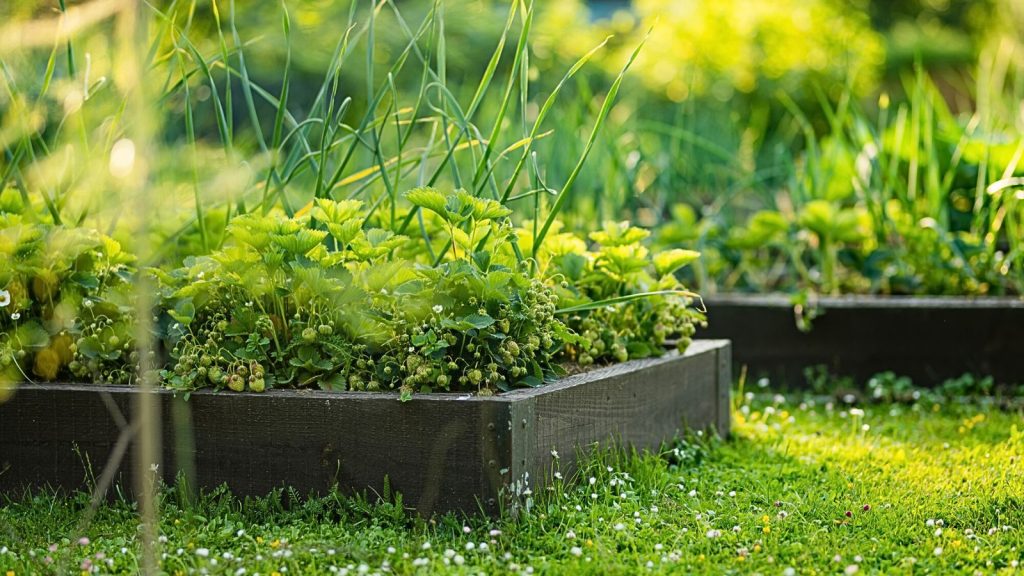
The end product of your worm bin—worm castings—is a powerful, natural fertilizer. These castings can be mixed into potting soil, sprinkled on top of container gardens, or brewed into compost tea for watering plants. For those working with limited space, castings are especially valuable for boosting yields in raised beds, window boxes, and indoor herb gardens.
Regularly adding castings to your soil improves structure, increases water retention, and provides essential nutrients for healthy plant growth.
Common Challenges and Simple Solutions
Even with the best setup, beginners may encounter a few issues. Here are some typical challenges and how to address them:
- Odor: Usually caused by overfeeding or too much moisture. Remove excess food and add dry bedding.
- Fruit flies: Always bury food scraps and cover with bedding. Avoid adding too much fruit at once.
- Worms escaping: This can happen if the bin is too wet, dry, or hot. Adjust conditions and ensure proper ventilation.
- Mold: A small amount is normal, but if it spreads, reduce feeding and increase airflow.
FAQ: Compact Worm Composting
How much space do I need for a small worm bin?
Most beginners start with a bin that’s 10–18 gallons in size, which fits under a sink or on a small balcony. Even a container as small as a shoebox can work for very limited spaces, though you’ll need to feed less and harvest more often.
How long does it take to get usable compost?
With regular feeding and proper care, you can expect to harvest finished worm castings every 2 to 4 months. The process may be faster in warmer conditions or with a larger worm population.
Can I keep a worm bin indoors?
Yes, many people keep their bins indoors year-round. As long as you manage moisture and avoid overfeeding, there should be little to no odor. Indoor bins are ideal for those in apartments or cold climates.
Getting Started with Small-Space Vermiculture
Compact worm composting is an accessible, eco-friendly way to recycle kitchen waste and enrich your garden, no matter how little space you have. With just a few supplies and some basic care, you’ll soon be producing valuable castings for your plants and reducing your household’s environmental footprint.
For further reading on sustainable living and practical homesteading skills, explore resources like the modern homesteading fencing guide or browse tips for modern homesteading budgeting to make the most of your journey toward self-sufficiency.