Learning how to recycle kitchen scraps and garden waste into rich, fertile compost is a rewarding step for any gardener. Vermicomposting for beginners offers a simple, eco-friendly way to turn organic matter into valuable fertilizer using worms. Whether you have a small apartment or a large backyard, this method can fit your lifestyle and help reduce household waste.
In this guide, you’ll discover the basics of worm composting, from setting up your first bin to harvesting nutrient-rich castings. Along the way, you’ll find practical tips, answers to common questions, and resources to help you get started. If you’re also interested in other organic gardening techniques, check out our guide on how to use manure in gardening for additional insights on natural soil enrichment.
What Is Worm Composting?
Worm composting, also known as vermicomposting, is a process where specific types of earthworms break down organic waste into a nutrient-rich soil amendment called worm castings. This method is ideal for beginners because it’s low-maintenance, odor-free when done correctly, and can be done indoors or outdoors.
The most commonly used worms for this process are red wigglers (Eisenia fetida). These worms thrive in decomposing organic material and are efficient at turning food scraps into valuable compost.
Why Start Vermicomposting?
There are several benefits to starting a worm composting system:
- Reduces household waste by recycling kitchen scraps.
- Produces high-quality, organic fertilizer for gardens and houseplants.
- Improves soil structure and water retention.
- Can be set up in small spaces, making it accessible for apartment dwellers.
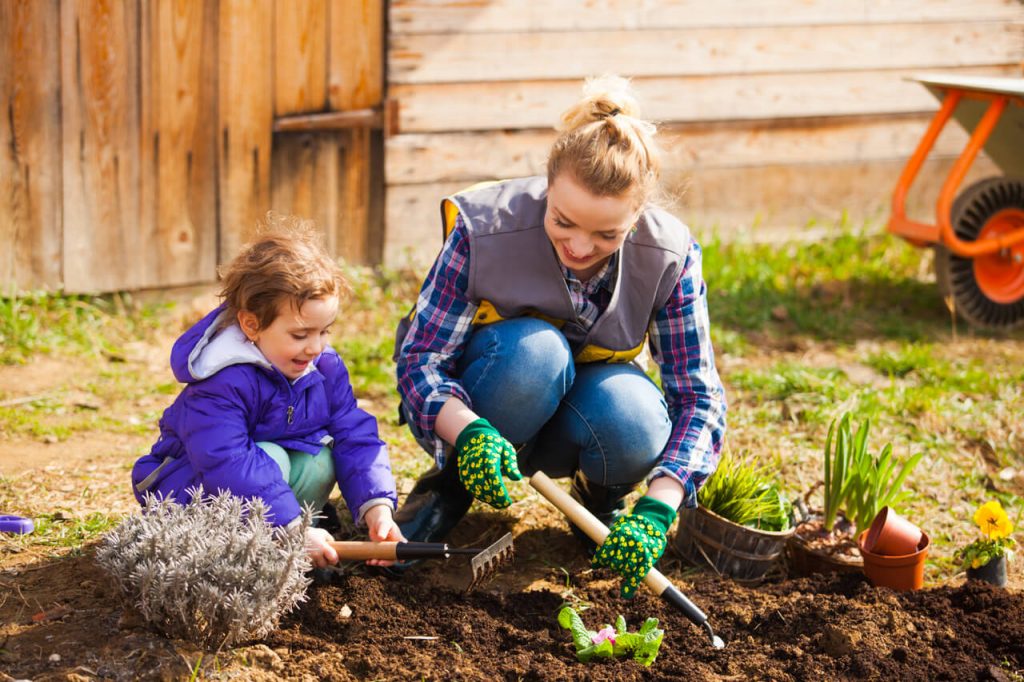
- Provides a hands-on way to teach kids about sustainability and natural cycles.
Setting Up Your First Worm Bin
Getting started with vermicomposting for beginners is straightforward. Here’s what you’ll need:
- A bin or container: Choose a plastic or wooden box with a lid. Drill small holes for ventilation and drainage.
- Bedding material: Shredded newspaper, cardboard, or coconut coir work well. Moisten the bedding until it feels like a wrung-out sponge.
- Red wiggler worms: Start with about 1 pound (roughly 1,000 worms) for a typical household bin.
- Food scraps: Fruit and vegetable peels, coffee grounds, tea bags, and crushed eggshells are ideal. Avoid meat, dairy, oily foods, and citrus.
Step-by-Step Guide to Starting a Worm Bin
- Prepare the bin: Drill holes in the sides and bottom for airflow and drainage. Place a tray or newspaper underneath to catch any drips.
- Add bedding: Fill the bin about one-third full with moist bedding. Fluff it up to create air pockets.
- Introduce the worms: Gently place your red wigglers on top of the bedding. They will burrow down to escape the light.
- Add food scraps: Start with a small amount, burying it in the bedding. Gradually increase as the worms adjust.
- Maintain moisture: The bedding should stay damp but not soggy. Use a soil moisture meter if you want to monitor conditions more precisely.
- Cover and place: Keep the bin in a cool, shaded spot (ideally 55–77°F). Avoid direct sunlight and freezing temperatures.
What Can and Can’t Go in a Worm Bin?
Knowing what to feed your worms is key to a healthy composting system. Here’s a quick reference:
| Good for Worms | Avoid |
|---|---|
| Fruit and vegetable peels | Meat, fish, bones |
| Coffee grounds, tea bags | Dairy products |
| Shredded paper, cardboard | Oily foods, fats |
| Crushed eggshells | Citrus peels, spicy foods |
Chop scraps into small pieces to speed up decomposition and avoid overfeeding, which can lead to odors or pests.
Maintaining Your Worm Composting System
Once your bin is established, maintenance is minimal. Here are some tips for ongoing care:
- Add food scraps once or twice a week, always burying them under bedding.
- Keep the bedding moist but not wet. If it dries out, lightly mist with water.
- Fluff the bedding occasionally to maintain airflow.
- If you notice fruit flies, cover food with more bedding and avoid overfeeding.
- Harvest worm castings every 3–6 months by moving finished compost to one side and adding fresh bedding and food to the other. The worms will migrate, making it easy to collect the castings.

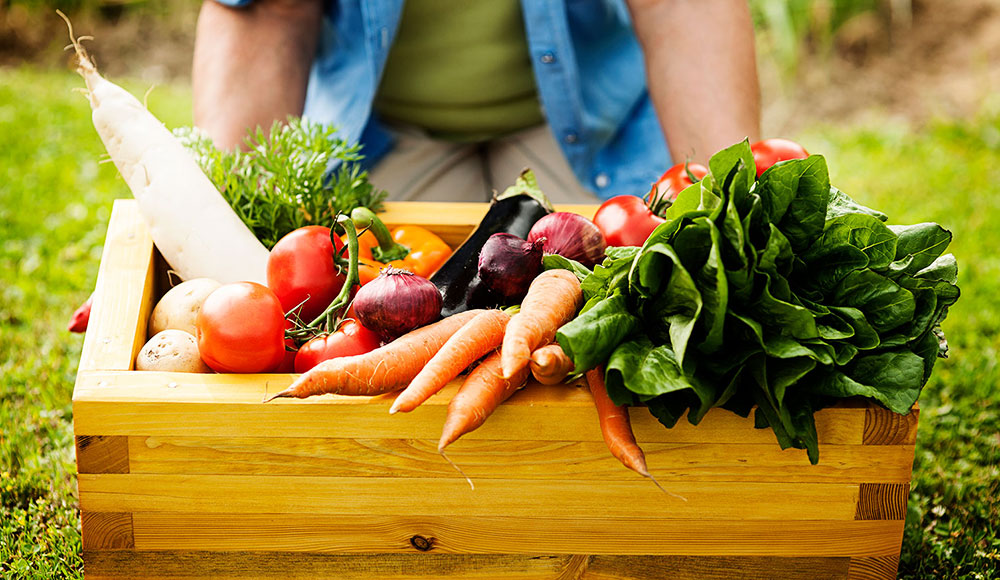
Using Worm Castings in Your Garden
Worm castings are a powerful organic fertilizer. They can be mixed into potting soil, sprinkled around the base of plants, or brewed into compost tea. This natural amendment improves soil fertility, boosts plant growth, and helps retain moisture. For more tips on maximizing your harvest, see our article on how to increase vegetable yield.
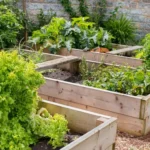
If you’re planning a new garden bed, consider using a raised planter. This makes it easy to control soil quality and drainage, and it pairs perfectly with worm compost. For more ideas on vegetable gardening, explore these vegetable gardening tips for beginners to help you get the most from your efforts.
Troubleshooting Common Worm Composting Issues
Even with the best care, you might encounter a few challenges. Here’s how to solve the most common problems:
- Odors: Usually caused by overfeeding or lack of airflow. Remove excess food and fluff the bedding.
- Fruit flies: Bury food scraps deeper and add more bedding on top.
- Worms escaping: Check for excess moisture or acidic conditions. Add dry bedding and avoid citrus or spicy foods.
- Bin too wet: Add more dry bedding and ensure drainage holes are clear.
Expanding Your Composting Knowledge
As you become more comfortable with vermicomposting, you may want to experiment with different bin designs, worm species, or composting methods. For example, you can compare slow release vs liquid fertilizer to see which works best alongside your worm castings. If you’re curious about other ways to boost your garden’s health, learning the best times to fertilize vegetable plants can help you plan your gardening calendar more effectively.
Frequently Asked Questions
How long does it take to get finished compost from a worm bin?
Typically, you can harvest usable worm castings in about 3 to 6 months, depending on the size of your bin, the number of worms, and how much food you provide. Regularly rotating the bedding and feeding schedule helps speed up the process.
Can I keep a worm bin indoors?
Yes, worm bins are well-suited for indoor use since they are compact and, when managed properly, odor-free. Place the bin in a cool, dark spot such as a basement, laundry room, or under the kitchen sink.
What should I do if my worm bin smells bad?
Foul odors are usually a sign of overfeeding, poor ventilation, or excess moisture. Remove any uneaten food, add dry bedding, and fluff the bin to improve airflow. Avoid adding meat, dairy, or oily foods.
Do I need to add new worms over time?
Red wigglers reproduce in the bin, so you generally don’t need to add more worms unless you want to expand your system. If you notice a significant decrease in the worm population, check for environmental issues such as temperature extremes or food imbalances.
Can I use worm castings for all types of plants?
Worm castings are safe and beneficial for most plants, including vegetables, flowers, and houseplants. They provide a gentle, slow-release source of nutrients that won’t burn roots.
Getting started with vermicomposting for beginners is a practical and sustainable way to enrich your garden and reduce waste. With a little patience and care, you’ll soon enjoy the benefits of homemade compost and healthier plants.